
Heat Gun for Removing Window Tint: Settings, Technique and Rear-Glass Risks
How to choose and use a heat gun for tint removal, control the heat, peel cleanly and avoid damaging rear-window defroster lines.
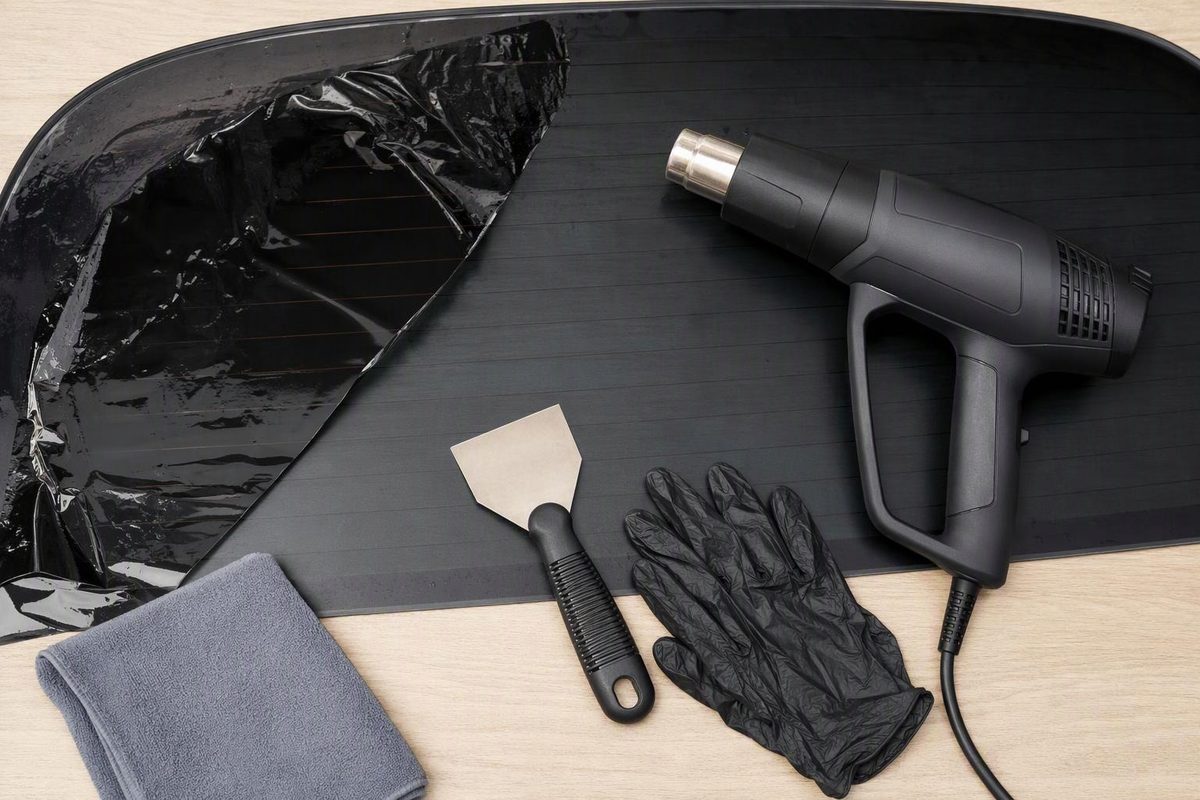
A heat gun can make old automotive tint easier to peel, but more heat is not better. Use a variable-temperature gun at its lowest effective setting, keep it moving and peel slowly. The aim is to soften the adhesive—not melt the film, scorch trim or concentrate heat on one area of glass.
Use this method mainly on accessible side windows. Rear glass with defroster lines or an antenna deserves more caution: a steamer or professional removal is usually the better choice.
What to look for in a heat gun
You do not need a tint-specific model. Prioritize control and safe handling:
- Variable temperature or at least low and high settings: Fine adjustment is more useful than maximum output.
- More than one fan speed: This gives you another way to control how aggressively the tool heats an area.
- A stable stand or cool-down position: The nozzle remains hot after shutdown.
- A comfortable cord and balanced grip: You should be able to sweep the tool without dragging it over seats or painted bodywork.
Do not choose a gun by its highest advertised temperature. For context, the Wagner FURNO 300 is rated at about 750°F on low and 1,100°F on high. Those are heat-output specifications, not glass-temperature targets. Its manual says to keep the gun in constant motion, wear gloves and eye protection, keep it away from flammable liquids and gases, and let it cool on its stand (Wagner FURNO 300 manual).
What heat setting should you use?
Start at the gun’s lowest temperature setting. Hold it several inches from the glass and sweep continuously across a broad area. There is no reliable universal dial number because the heat reaching the adhesive varies with the gun, distance, airflow, ambient temperature and speed of movement.
Warm the film only until it becomes easier to pull. If it still resists, reheat the area while keeping the gun moving; do not park the nozzle over a stubborn patch. Master Appliance’s tint-removal instructions similarly recommend conservative temperature control, circular movement on the outside of the window and reheating during a slow peel. The company warns that too much heat can melt the tint onto the glass (Master Appliance).
Avoid using a heat gun on cracked glass, and do not begin with glass that is extremely cold. Stop if a crack develops, trim softens or the film starts to melt.
How to remove side-window tint with a heat gun
1. Prepare the car
Park out of direct sun in a dry, ventilated workspace. Lower a roll-down window slightly to expose the top edge of the film. Protect the door panel, seat and painted trim, but keep loose coverings away from the hot nozzle.
Have these ready:
- Heat-resistant gloves and eye protection
- A plastic razor or trim tool
- Clean microfiber towels
- A non-caustic adhesive remover suitable for automotive glass and nearby finishes
- Masking material for adjacent trim
Read the heat-gun manual and chemical label before starting. A heat gun has no visible flame, but that does not make it safe around solvents. Princeton University’s Environmental Health and Safety office notes that heat guns can produce temperatures as high as 1,200°F and that their switches and motors are not usually spark-free. It advises never using one near flammable liquids, vapors or materials (Princeton EHS).
Complete the heating step, switch off and unplug the gun, and place it safely on its stand to cool before opening an adhesive remover.
2. Warm an upper corner
Apply moving heat to the outside of the glass, sweeping over a hand-sized area. Keep the nozzle away from rubber seals, plastic trim, headliners and wiring.
3. Lift the film
From inside the vehicle, use a fingernail or plastic razor to lift a corner. A plastic tool is the more forgiving first choice because it reduces scratch and injury risk.
4. Peel slowly while reheating
Pull the film back over itself at a shallow angle with slow, consistent pressure. Warm the glass just ahead of the peel line from outside. Do not yank the film upward; old tint can separate into layers and leave more adhesive behind.
Madico recommends slow, consistent peeling to limit the adhesive left on the glass (Madico). If the film repeatedly tears despite modest reheating, stop rather than continually increasing the temperature.
5. Clean off the adhesive separately
Once the film is off and the heat gun is unplugged and cooling away from the work area, mask nearby trim and apply a compatible adhesive remover according to its label. Allow only the prescribed dwell time, then wipe the residue away or use a suitable scraper on ordinary side glass.
Madico cautions that adhesive removers can damage vehicle interiors and recommends masking non-glass areas. Never combine an unknown cleaner with heat, and do not assume a household solvent is safe for upholstery, plastics or paint.
Do not scrape a rear defroster grid
Rear-window defroster lines and some glass-mounted antenna conductors can be damaged during tint removal. Madico limits scraper use to side windows without a defroster and recommends steam to soften adhesive on rear glass. Master Appliance also warns against contacting defroster lines or antenna wires with a razor.
For rear glass:
- Do not use a metal razor or abrasive pad on the grid.
- Prefer steam and a slow peel over direct scraping.
- Stop if a defroster line appears to lift with the film.
- Check the vehicle owner’s manual before applying a chemical to the grid.
Madico’s instructions are written for dealers and specifically advise consumers to have a professional remove its film to avoid damaging the window. That is a sensible choice for brittle or layered rear tint, existing grid damage, or film that will not release with modest warmth.
For a lower-temperature method, see how to take off window tint safely with steam.
Heat gun or steamer?
Choose a heat gun for accessible side glass when the film still peels in sheets and you can keep the tool moving. Choose a steamer for rear defroster glass, brittle film or a gentler approach. A household hair dryer may loosen some films, but it generally works more slowly.
The right result is not the fastest removal. It is a controlled peel that leaves the glass, seals, trim and electrical grid intact.